RabbitMQ Broker on Local Host
While there are many alternative broker implementation options available, NOS-T adopts RabbitMQ as the message broker, an open-source message broker software that implements the Advanced Message Queuing Protocol (AMQP). RabbitMQ supports various messaging protocols including MQTT through plugins, making it a versatile choice for message routing. The broker is lightweight yet powerful, supporting clustering for high availability and various messaging patterns.
This page shows how to configure a new standalone RabbitMQ broker on a local host such as a personal machine or a secure local network. The tutorial uses Docker Compose to set up a RabbitMQ instance with the management and MQTT plugins enabled, providing a robust and easily configurable messaging platform for the testbed environment.
Initializing a RabbitMQ Broker
This tutorial specifically makes use of a Docker container for setting up the broker. A Docker container image is a lightweight, standalone, executable package of software that includes everything needed to run an application: code, runtime, system tools, system libraries and settings. In order to use the Docker Compose commands described, one of the following can be installed:
Docker Desktop for Windows with at least 1 GiB of memory dedicated to Docker Engine.
Docker Desktop for Mac with at least 1 GiB of memory dedicated to Docker Engine.
Docker Desktop for Linux with at least 1 GiB of memory dedicated to Docker Engine.
Each of the latter includes the Docker Compose tool. To check if Docker Compose is running correctly, open an elevated command prompt and enter the following:
>>> docker-compose --help
If a list of options or commands is not displayed, then installing Docker Compose directly may be necessary.
To begin setting up a RabbitMQ broker, create a file named rabbitmq-docker-compose.yml with the following content:
 1services:
 2  rabbitmq:
 3    image: rabbitmq:3.13-management
 4    hostname: rabbitmq
 5    container_name: rabbitmq
 6    ports:
 7      - "5672:5672"   # AMQP port
 8      - "15672:15672" # Management UI port
 9      - "1883:1883"   # MQTT port
10    volumes:
11      - rabbitmq_data:/var/lib/rabbitmq
12    environment:
13      - RABBITMQ_DEFAULT_USER=admin
14      - RABBITMQ_DEFAULT_PASS=admin
15    restart: always
16    command: >
17      bash -c "rabbitmq-plugins enable --offline rabbitmq_mqtt rabbitmq_web_mqtt &&
18              docker-entrypoint.sh rabbitmq-server"
19
20  rabbitmq_tcp_relay:
21    image: cloudamqp/websocket-tcp-relay
22    container_name: rabbitmq_tcp_relay
23    ports:
24      - "15670:15670"
25    restart: always
26    command: --upstream=tcp://rabbitmq:5672 --bind=0.0.0.0
27    depends_on:
28      - rabbitmq
29
30volumes:
31  rabbitmq_data:
32    name: rabbitmq_data
You can download the file here.
Open an elevated command prompt and change directories to the location of this .yml file and enter the following:
>>> docker-compose -f rabbitmq-docker-compose.yml up -d
[+] Running 2/2
- Volume "rabbitmq_data"         Created                         ##.#s
- Container rabbitmq             Started                         ##.#s
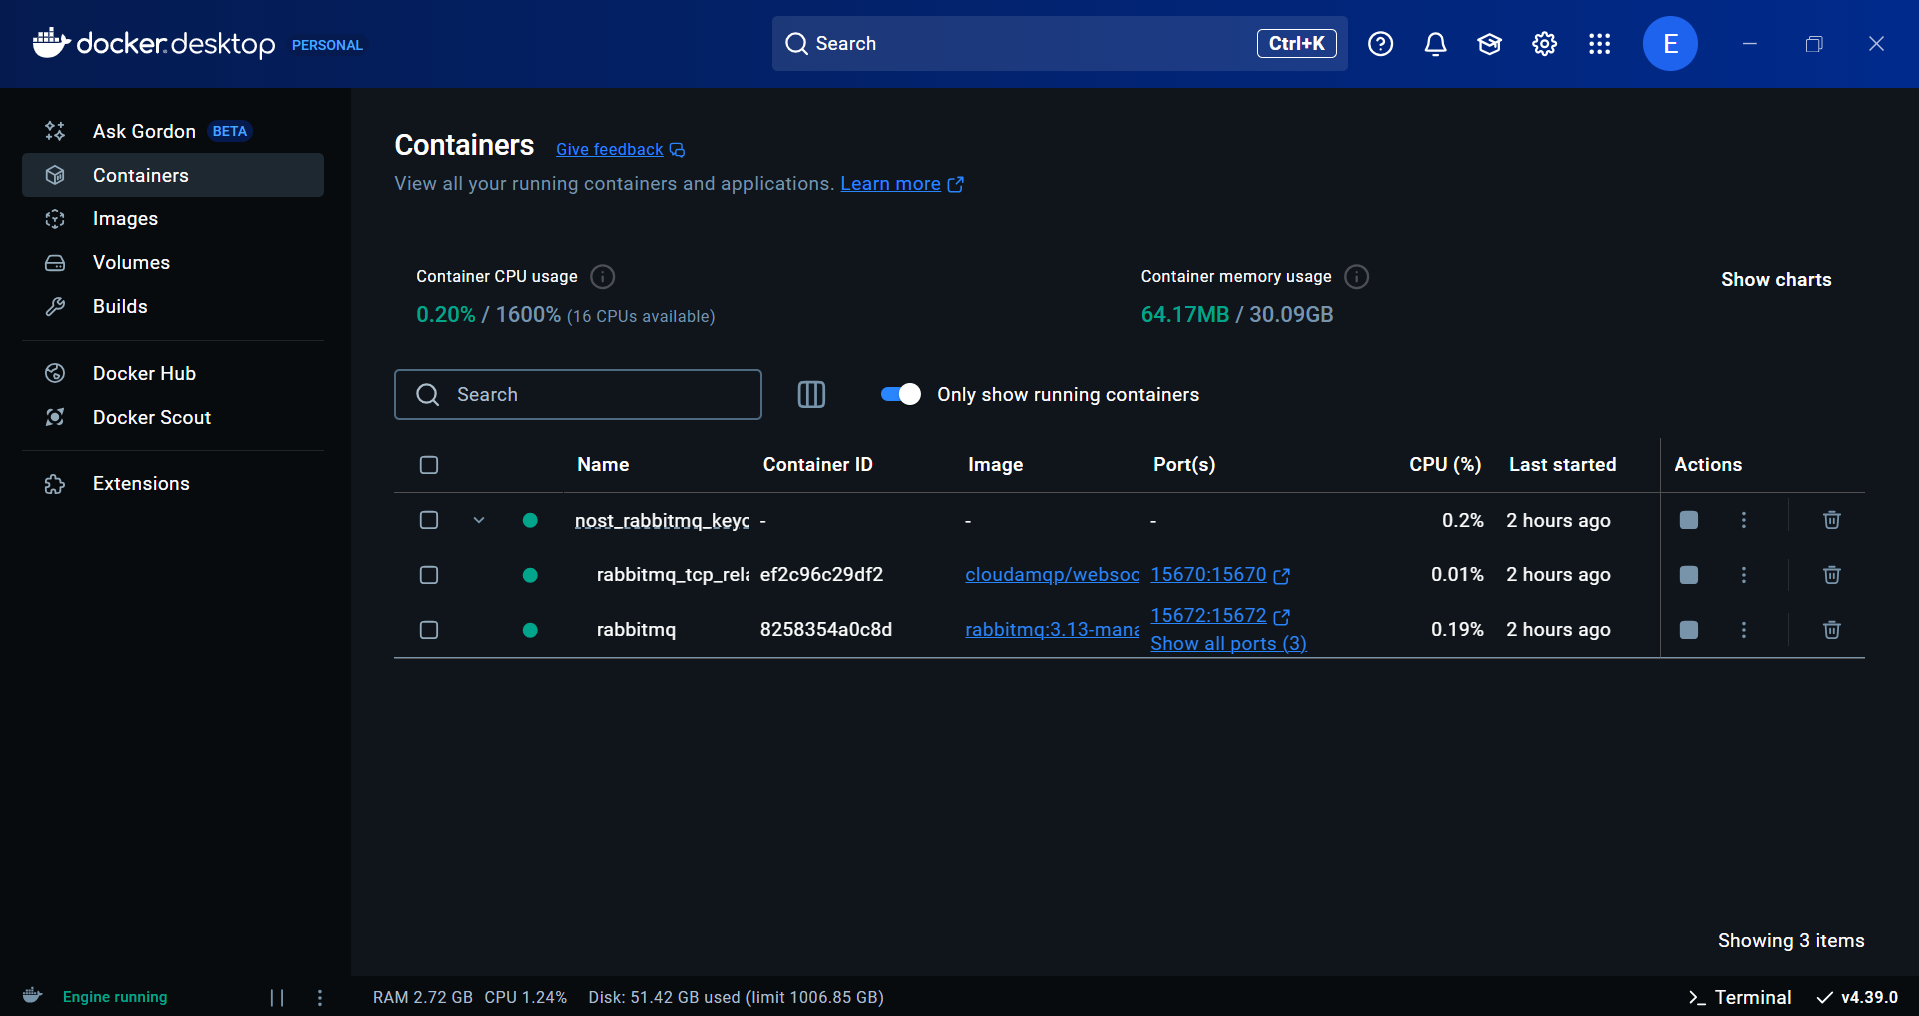
If actively running the Docker Desktop client, the Containers tab should include a two containers. Expanding the rabbitmq container shows two active nodes, rabbitmq and rabbitmq_tcp_relay:
Similarly, the Volumes tab should include a single, in-use rabbitmq_data volume:
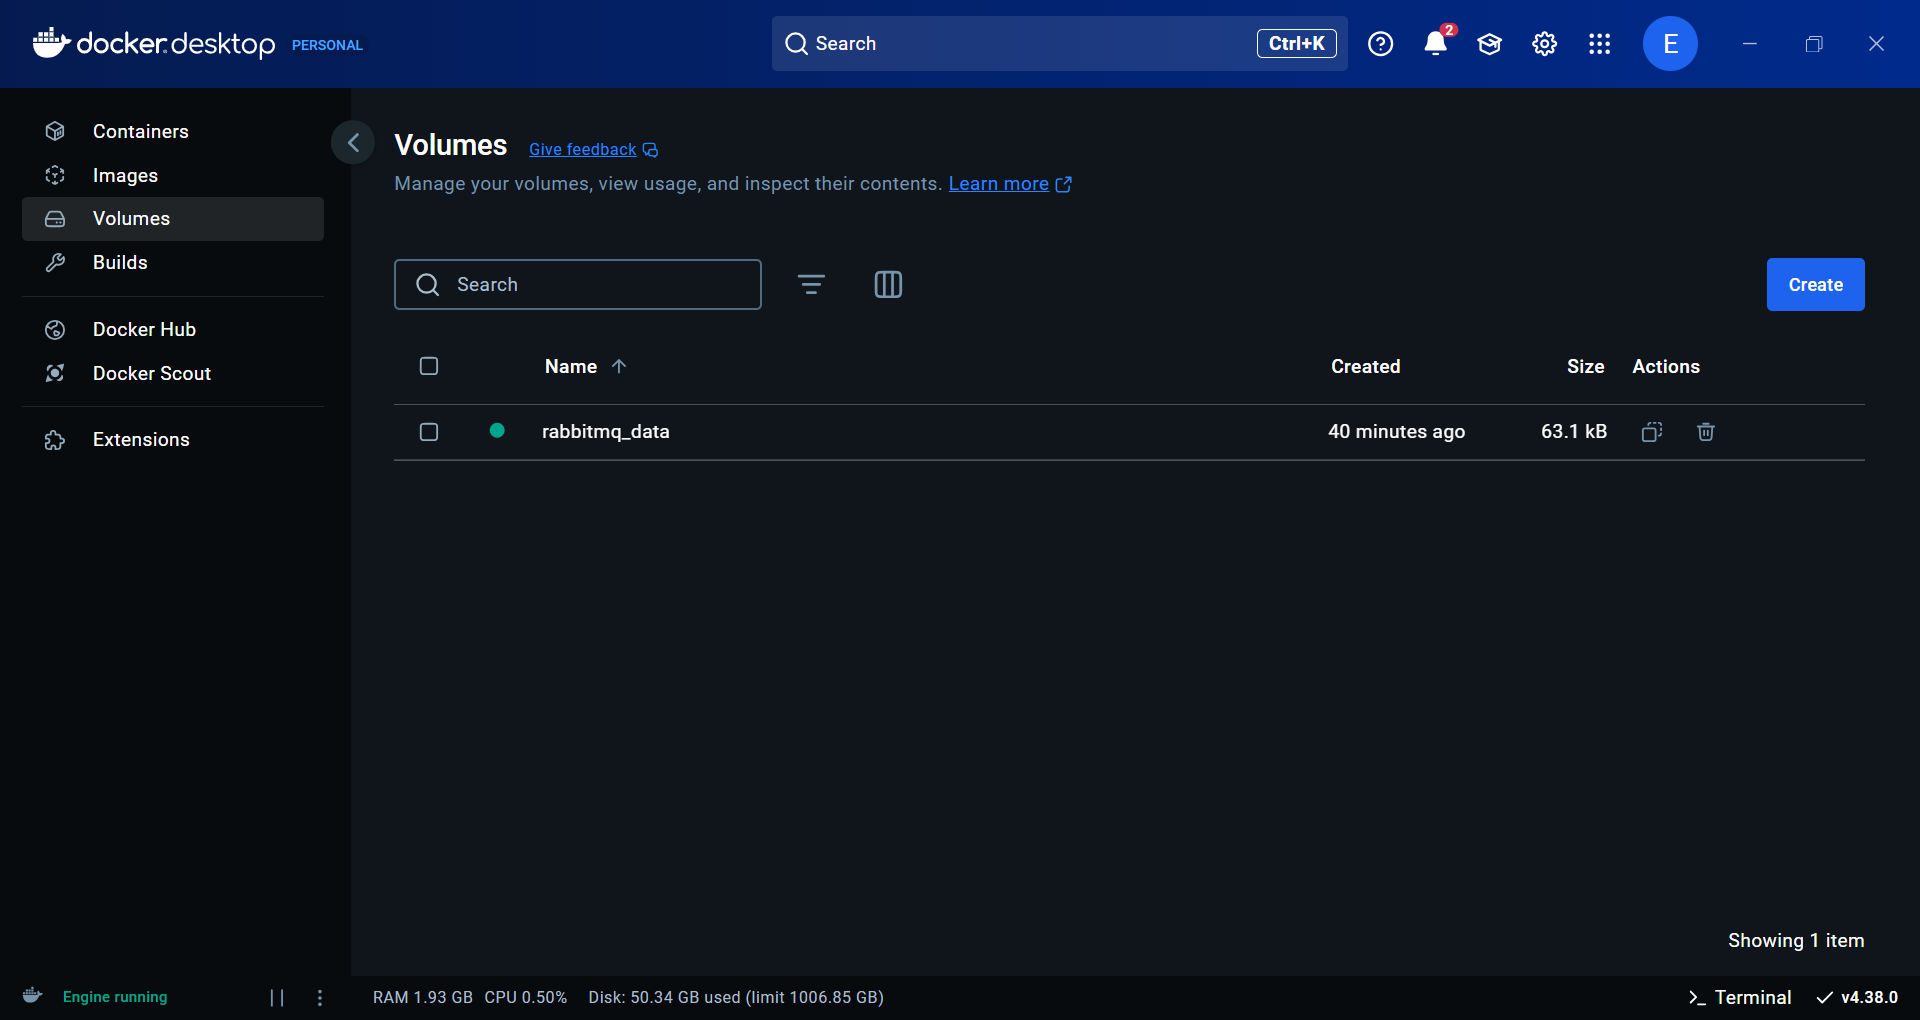
Note that the names of both the container and the volume can be customized by editing the .yml file accordingly.
Logging into the RabbitMQ Management Interface
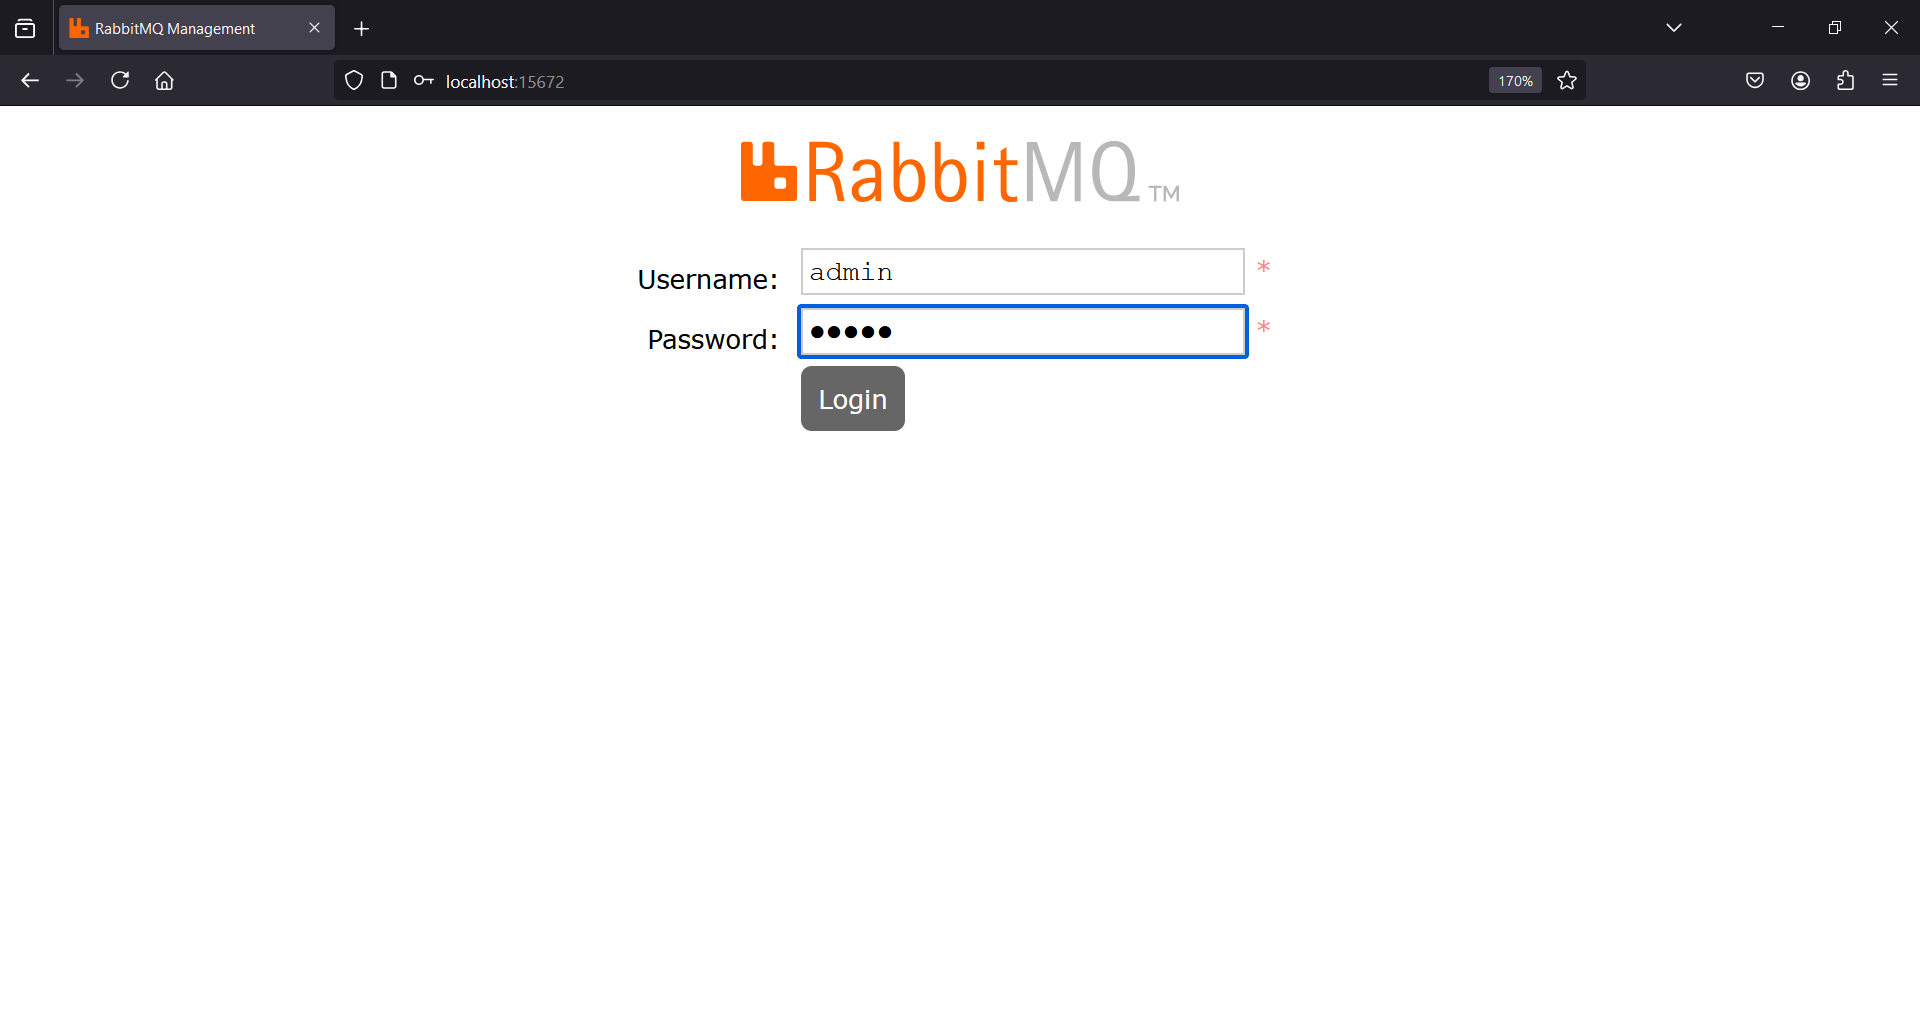
The rabbitmq-docker-compose.yml file contains a list of port mappings for different protocols, including the 15672 port for the RabbitMQ Management Interface. This web-based interface allows you to manage and monitor your RabbitMQ server. Once the docker container has been started up, open a browser and navigate to http://localhost:15672/ to login to this new broker as an admin (Username: admin, Password: admin).
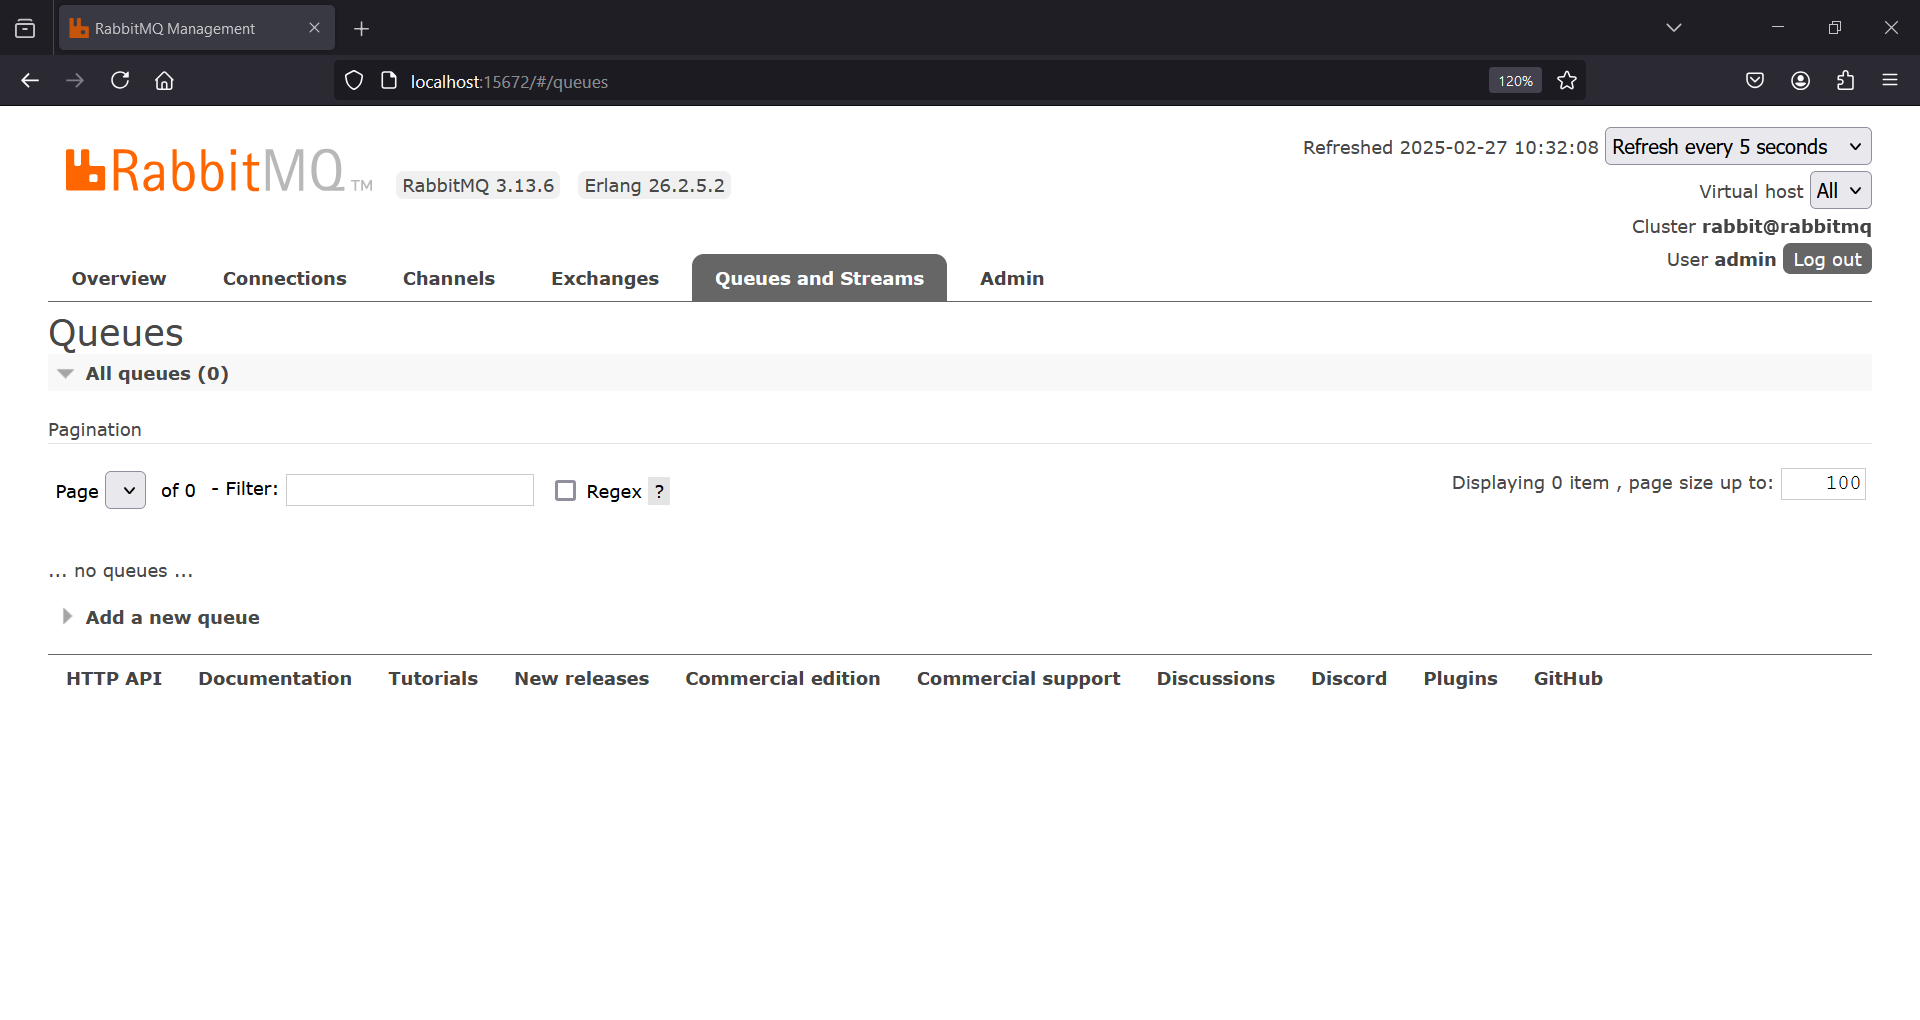
After logging in you will see the RabbitMQ management interface overview page, which provides statistics about your broker.

Customizing your RabbitMQ Broker
The RabbitMQ management interface provides various tabs for managing different aspects of the broker.
Exchanges

Exchanges are entities where messages are sent. RabbitMQ supports different types of exchanges (direct, fanout, topic, and headers) which handle routing messages differently. The topic exchange is particularly relevant for MQTT usage, as it allows for wildcard-based routing patterns similar to MQTT topics. In the Exchanges tab, you can create new exchanges, bind them to queues, and configure their properties.
Queues
The Queues tab allows you to manage message queues in RabbitMQ. Queues hold messages that are consumed by applications. For MQTT clients, RabbitMQ automatically creates queues based on subscriptions. You can view message rates, queue depths, and other statistics. Additionally, you can create durable queues that survive broker restarts, which is useful for persistent sessions in MQTT.
Connections
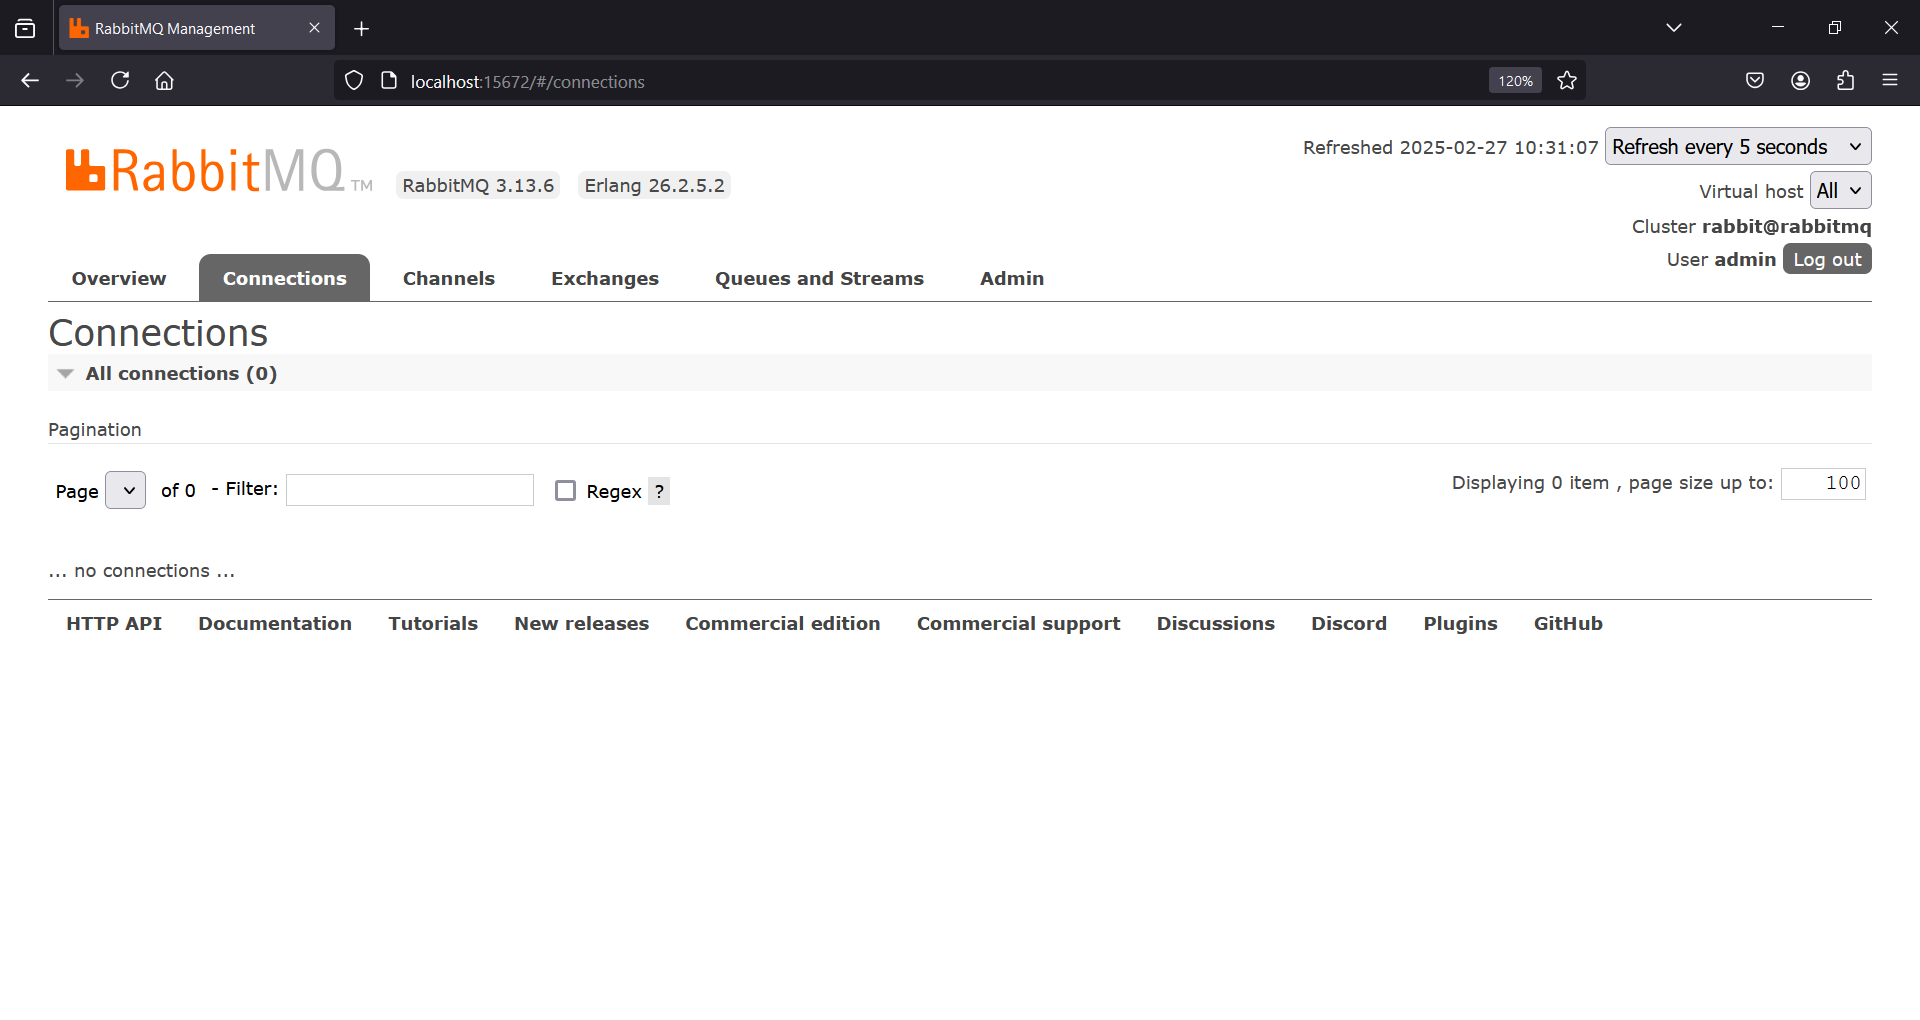
The Connections tab shows all client connections to the broker. This includes AMQP and MQTT clients. You can see details such as connection duration, data rates, and client properties. This tab is useful for monitoring who is connected to your broker and troubleshooting connection issues.
Users and Permissions
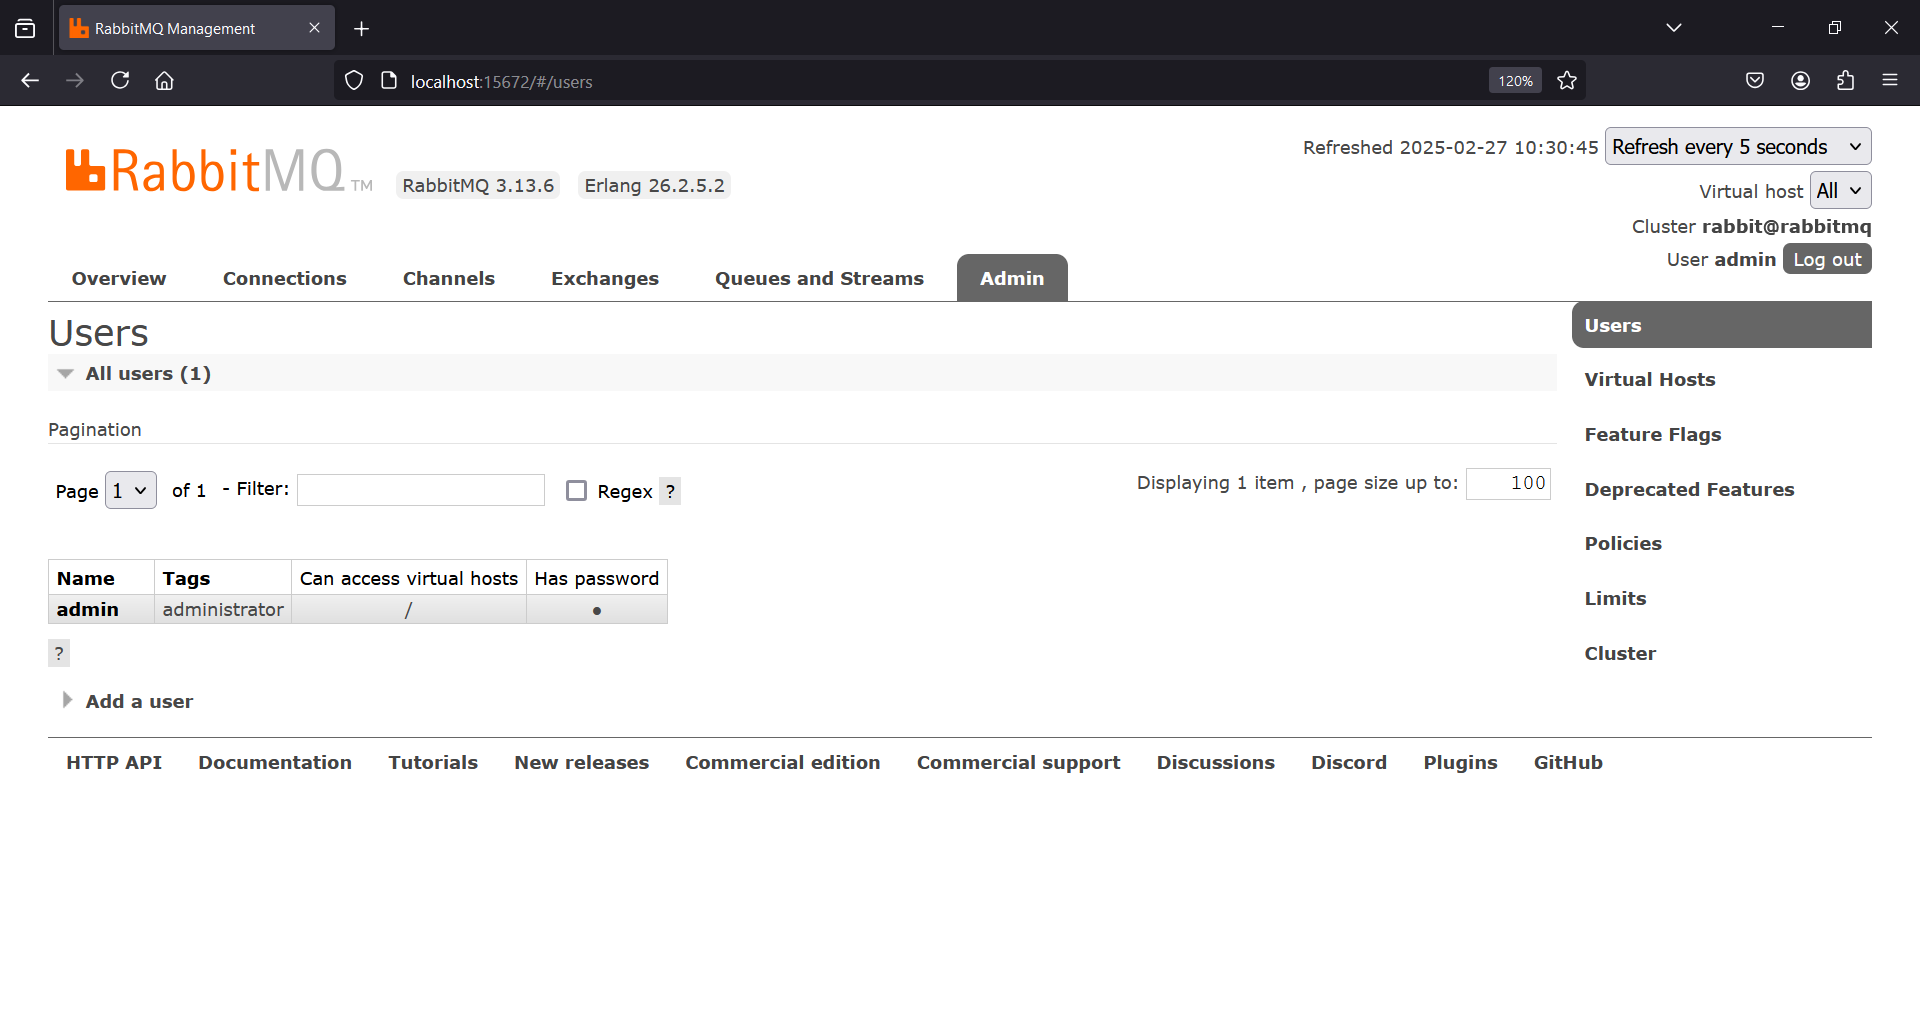
The Admin tab allows you to manage users and their permissions. You can create new users, assign them different permission levels, and restrict their access to specific virtual hosts. RabbitMQ’s permission system is based on three operations: configure, write, and read, which can be assigned with regular expression patterns to control access to resources.
For more information on RabbitMQ management, refer to the NOS-T RabbitMQ Keycloak GitHub repository.